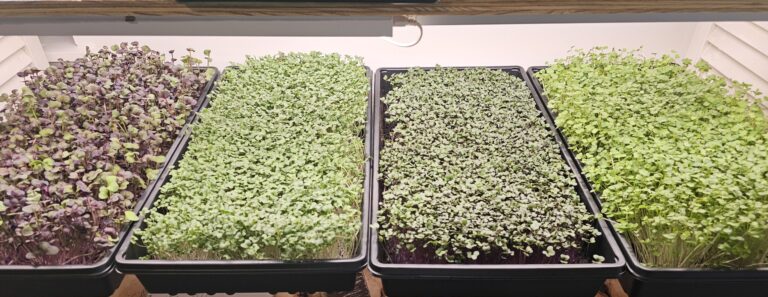
Seed Soaking 101: Keys to Maximizing Microgreen Germination Rates
Introduction
If you’re a microgreens grower, you know that starting with high-quality seeds is critical for growing healthy, vibrant microgreens. But did you know that proper seed soaking can help maximize your germination rates too?
Soaking microgreen seeds before planting kickstarts the germination process and helps ensure even sprouting and strong seedlings. Read on for your complete guide to soaking seeds like a pro!
Soaking Supplies
Before soaking those seeds, you’ll need to gather some simple supplies:
- Container – Use a glass or plastic bowl, a wide-mouthed mason jar, or even a bucket for larger seed amounts. Avoid metal containers that could interact with water.
- Water – Cool, potable water is best. Some additives like hydrogen peroxide can also be used.
- Draining tool – A fine mesh strainer, sieve, or slotted spoon works well to drain water after soaking.
- Paper towels or clean cloth – To spread seeds out for drying after rinsing.
- Additives such as bleach or hydrogen peroxide if you choose to use them.
Timing Considerations
One crucial factor in soaking is timing. Recommended soak durations vary based on seed type:
- Most microgreens seeds – 8 to 12 hours
- Large seeds (beans, peas, corn) – Overnight, 12-24 hours
- Very small seeds (amaranth, broccoli) – 4 to 6 hours
Soaking too long encourages mold growth. But too short doesn’t maximize water absorption. Consider your seeds when timing soaks.
Using Additives
Some growers add hydrogen peroxide or bleach to their soak water at low concentrations. This helps sanitize seeds and prevent mold issues. However, incorrect amounts can damage seeds. Follow directions carefully if using additives.
Avoiding Pitfalls
With the right technique, you can avoid common soaking issues like:
- Mold growth – Use clean water, avoid oversoaking, and dry thoroughly after rinsing.
- Oversoaking – Stick to recommended durations to prevent bursting or rotting.
- Bacterial problems – Start with sterile tools and containers. Consider additives.
- Poor drainage – Gently pour off the water after soaking rather than clumping seeds.
Rinsing Right
Once seeds have soaked, it’s vital to rinse and drain them thoroughly before planting.
This removes soaking water and preventative additives. Here are some tips:
- Drain soak water gently through a strainer. Don’t clump seeds.
- Rinse with clean water, changing a few times if needed.
- Spread seeds in a single layer on towels or cloth.
- Allow to dry for 1-2 hours until just slightly damp before planting.
Next Steps After Soaking
After proper soaking and rinsing, your seeds are ready for the next steps:
- Plant presoaked seeds promptly in your preferred growing medium. Don’t let them sit wet for long.
- Consider giving seeds extra light exposure for the first 1-2 days to encourage even sprouting.
- Maintain consistent moisture and warmth for germinating seeds. Mist lightly if needed.
- Watch for sprouts to emerge within 48-72 hours in most cases. Time varies by seed type.
Conclusion
With the right soaking technique, you’ll set your microgreens seeds up for success and enjoy improved germination rates and vigor.
Just remember to soak seeds based on variety, use clean tools and water, time it right, rinse thoroughly, and plant soaked seeds promptly. Your perfect microgreens will be sprouting soon!
For more growing tips or information on where to purchase seeds and other supplies, visit us at TinyCropCo.com. Happy soaking and harvesting!

